My idea for this project was a pretty simple one: I would try to make a tiny Tron disk from the movie Tron Legacy and for the most part, it worked pretty well. I’ve always loved that movie so it was kind of a no-brainer as to what I would do. The aesthetics and architecture are just great and I find it very fascinating. I ended up choosing TinkerCAD as my software because it is easy to get things done in a quick amount of time, especially since I was still learning how to use Fusion 360.


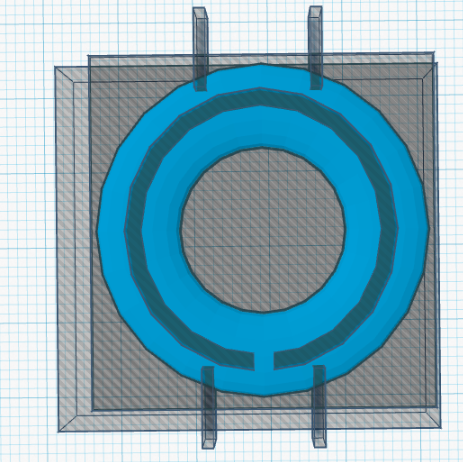
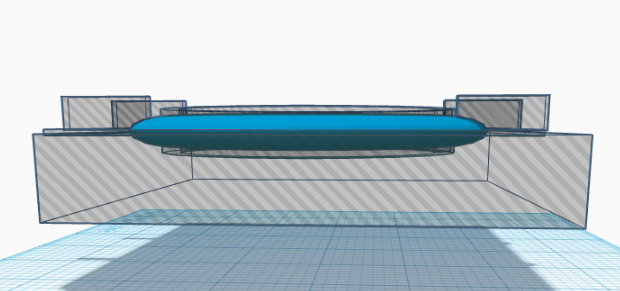
First, I started with getting the basic shape of the disk by taking a tube ring and basically chopping a bunch of holes in it and cutting it in half. The ring around the center is just a cylindrical hole with two more holes, basically, there’s some hole-inception going on there. There was some detail I forgot to add in but it turned out well anyway.

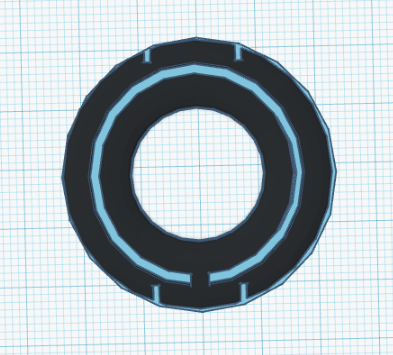
I created a ring to go through the middle, which was just a flat cylinder with a cylindrical hole through the middle. This picture is how it should look once everything is said and done.

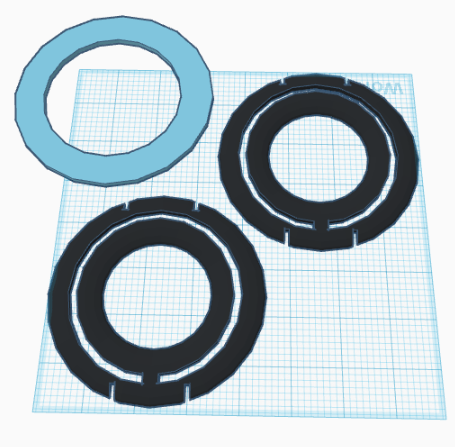
This is the disk disassembled for printing. As of right now, I don’t have the middle section printed out because the plastic is a different type that requires specific temperatures and tape to be able to work. I have printed out the two halves of the outside and they turned out alright. I have had issues getting the pictures onto my Chromebook so I won’t but all in all, I think this project turned out okay and I have learned many things and what I can do better next time. I will definitely be using Fusion 360 for future prints because TinkerCAD prints everything in blocky shapes rather than smooth edges. I will also try to find different methods for sanding out the prints because mine look like they’ve been through some rough patches. I will continue to learn Fusion 360 and print something else in the upcoming future.